

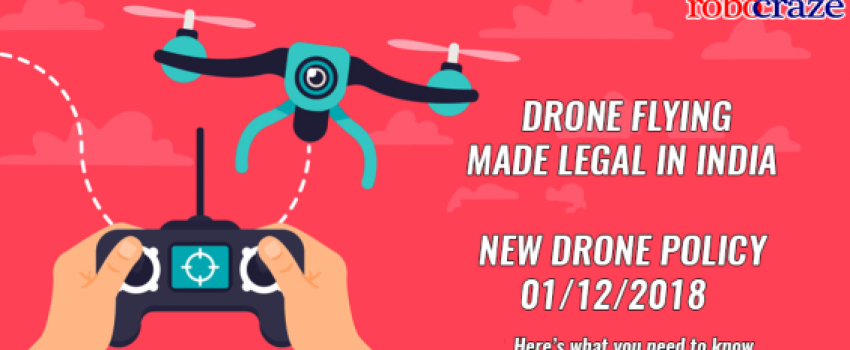
#BreakingNews: Drone Flying Finally Made Legal In India
All You Need To Know About the New Drone Policy – 2018
What is a Drone?
An unmanned aerial vehicle (UAV) is a type of aircraft that operate without a human pilot onboard and is more commonly known as a drone. Remote control airplanes and helicopters can also be classified as UAVs when they have particular kinds of performance and remote control capabilities. Today, drones are used in several applications such as Security and Surveillance, and to deliver packages
Drones In India
Drones have become quite popular in the Nation and recently made its way into the Indian Market and Economy. But due to the presence of missing policies and incomplete regulations, users were prevented to use this Technology to its full potential.
With the release of a new policy, Drone Enthusiasts have another chance at trying their hands on this Technology. The new policy shall be made applicable from 1st December 2018.
The Old Policy
- There are 5 types of drones: Nano, Micro, Mini, Small and Large. These range from less than 250grams in weight to over 150 kg.
- Drones under 250g (Nano) won’t need security clearance.
- Micro category (250 g to 2 kg) will get approvals in 2 days.
- Whenever you operate a drone, you will need different approval. Apart from nano drones, all other categories will need an air defense clearance so that Aviation, as well as security authorities, are aware of the flight path.
- There will be no-drone zones such as above operational aerodromes and within 5 km of Vijay Chowk in Delhi, within 500 meters from strategic locations, from mobile platforms such as a car, ship or aircraft, over eco-sensitive zones like national parks and wildlife sanctuaries (unless approved by Environment Ministry).
- Drones less than 2 kg and operating under 200 feet in height, once registered, can be flown without nods.
- Drones can be used for photography, medical uses, ad film making and so on.
- Air-rickshaws or passenger drones can also be considered under this policy
New Policy
Do’s
- Registration:
Drones have been categorizedinto five different categories based on weight – starting at less than 250 gm and the largest ones weighing more than 150 kg – and their end use. Barring the smallest (nano category of drones), all other categories of drones — micro, small, medium and large — need to be registered. - Manufacturing drones:
The new policy has defined different categories based on maximum takeoff weight which means manufacturers will have to keep in mind the needs of the consumers and policy restrictions while manufacturing drones. For example, if a drone is going towards an unauthorized area, it should have a functionality to come back to its base area. - Flying small drones:
A model aircraft of 2 kg without any payload, if flown below 200 ft inside closed premises, then no permission is required. - Educational Institutions:
Institutes don’t have to apply for a unique identification number or UIN. Aeromodellers and recreational flyers under this category will be fully responsible for the operation, safety, and security of a drone. However, they will have to inform the local police before undertaking such activities even for indoor operation.
Don’t’s
- Operating an autonomous aircraft without any permission or UIN is now prohibited
- Flying without prior approval over densely populated or areas which affect public safety is prohibited
- Flying within 50 km of international border
- Flying beyond 500 Meters into the Sea
- Flying near strategic locations
- You cannot fly a drone from a mobile platform such as a moving vehicle, ship or aircraft
*Originally posted on Robocraze
